Upload a photo
Any JPG, PNG or WEBP. The less compressed the source, the more the model has to work with.
Enlarge a photo two or four times and keep the detail an ordinary resize would smear away.
Start Creating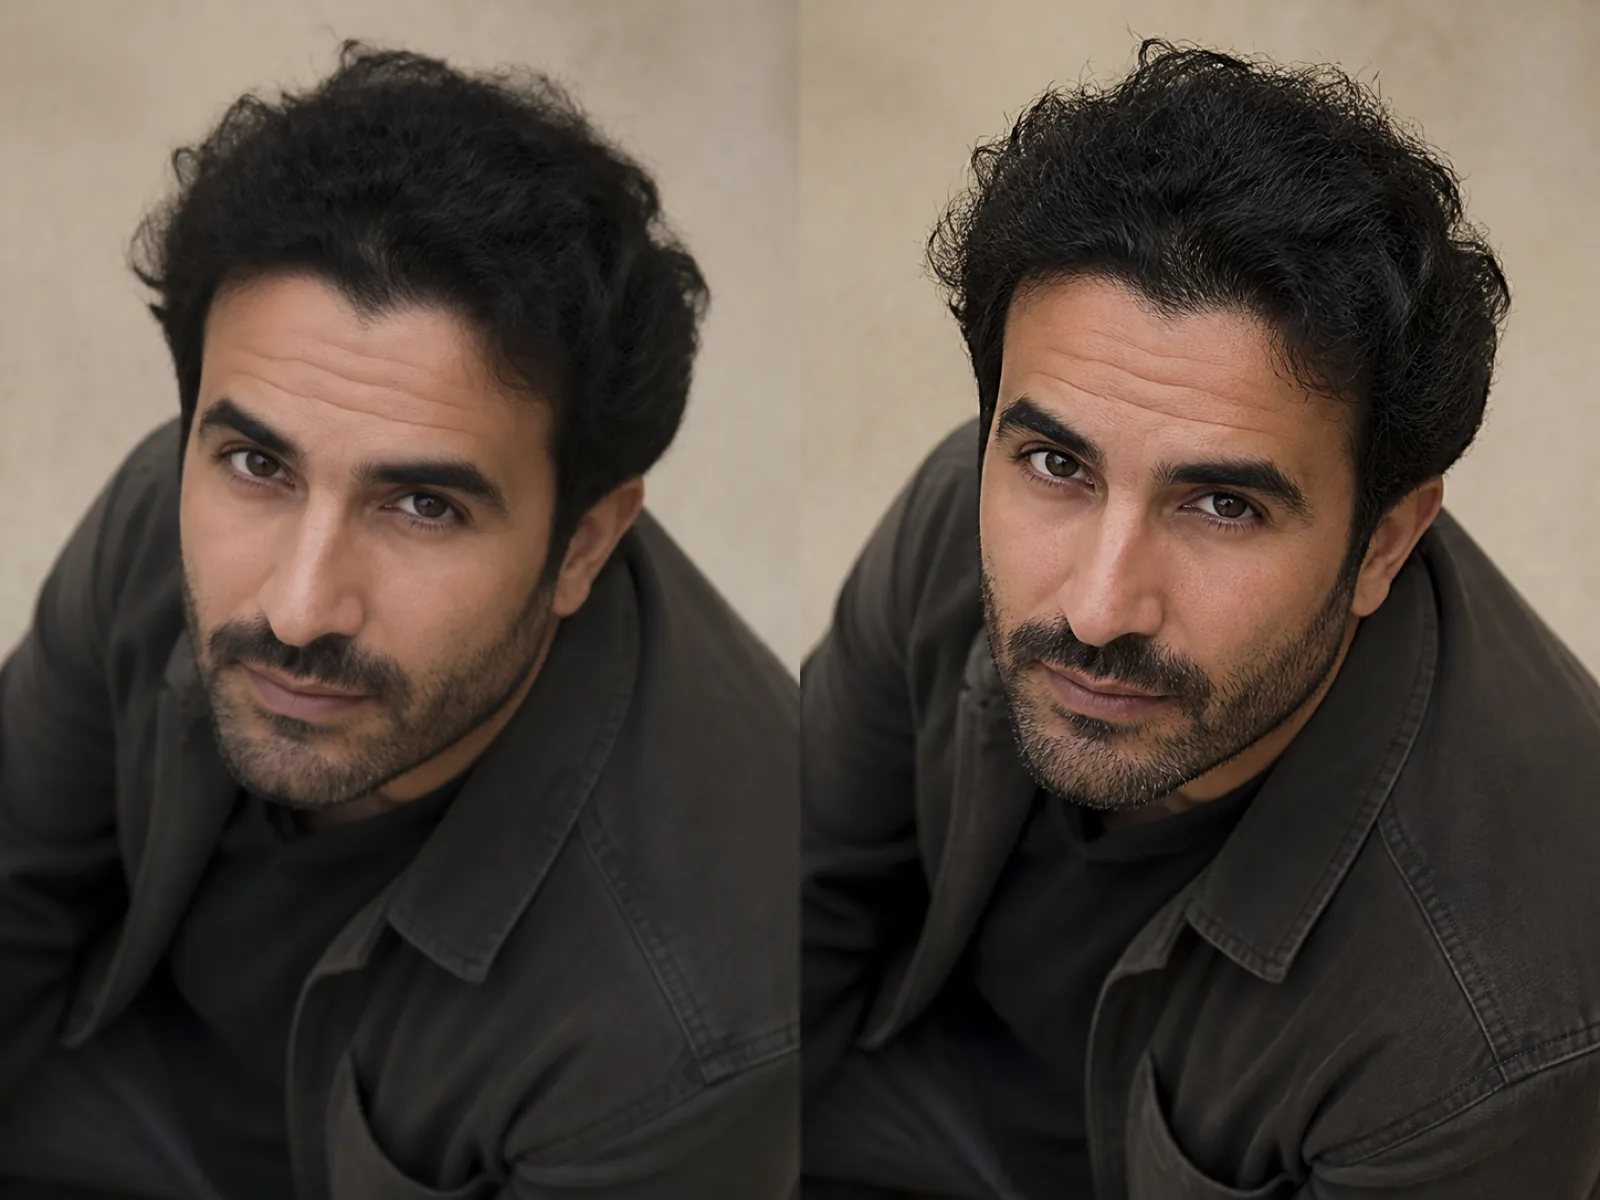
Enlarging a photo in an ordinary editor stretches the pixels that are already there, so edges go soft and small text falls apart. An upscaler works the other way around: it reads the structure of the image and redraws edges, hair, fabric and lettering at the larger size.
That is why a 4× upscale of a small photo can look cleaner than the original viewed at full size, while a plain resize of the same file only ends up bigger and blurrier.
Any JPG, PNG or WEBP. The less compressed the source, the more the model has to work with.
Set the image type as well, so photos, illustrations and screenshots each get the right pass.
Export lossless PNG for print, or WEBP when the file is going on the web.
Double or quadruple the long edge in one pass, no tiling seams across the frame.
Photos, flat illustration and screenshots are handled by different settings instead of one generic filter.
An optional extra step for eyes, lashes and skin, which are the first things to go mushy when enlarged.
PNG when nothing may be lost, JPG or WEBP when the file size matters more.
A 900 px phone photo has no business going on a poster until it is upscaled.
Listing platforms reject images below their pixel floor; 2× usually clears it.
Recover something usable from a saved thumbnail, an old export or a compressed screenshot.
2× or 4× the long edge. Very large sources are capped at 2× so the output stays within the export limit.
No, and no upscaler does. The model reconstructs plausible detail from what the file still contains. For documents, evidence or anything where exact characters matter, keep the original file alongside the upscale.
PNG when the image goes on to more editing or print, WEBP when it goes straight on a page and the file size matters.
Set the image type to illustration. It keeps flat color areas flat and edges crisp, instead of adding the fake texture a photo pass would.
Usually the source is too small or too heavily compressed — there is nothing left in the pixels to rebuild from. Try 2× instead of 4×, and turn on the denoise pass if the file is a low-quality JPG.
Upload an image, pick 2× or 4×, and download the larger file.